
- SureCookie Installation Guide
- Installing SureCookie Pro
- Updating SureCookie
- How to Set Up SureCookie: Onboarding Wizard Guide
- SureCookie Dashboard Overview
- Connecting Your Site to SureCookie (Scanner Setup)
- Using SureCookie on Multiple Sites
- Uninstalling SureCookie & Data Cleanup
- Preferences Settings (Menu, Branding, Analytics)
- Re-Consent
- Understanding SureCookie Logs
- How to Set Up Geographic Targeting
- Resource Blocking
- Setting Up Google Consent Mode v2
- Consent Models Explained (Opt-in vs Opt-out)
- Exporting Consent Logs (PDF Proof + CSV)
- Consent & Data Settings (Duration, Retention, Renew)
- Consent Forwarding Across a Multisite Network
- Resource / Script Blocking (Add Embeds + Fixes)
Connecting Your Site to SureCookie (Scanner Setup)
SureCookie’s cookie scanner runs on our servers and loads your site in a real browser to find the cookies in use. Before your first scan, you connect your site to that service once. Connecting verifies that you control the domain and links your site to the scanner, which also powers automatic categorization and compliance suggestions.
You only do this once per site. After connecting, you can scan anytime, and your consent banner, script blocking, and consent logging work whether or not a scan has run.
Before You Begin
Connecting happens over the public internet, so a few things need to be in place:
- A publicly reachable site – Connecting won’t work on localhost, a private network, or a development domain such as
.localor.test, or while the site is behind HTTP basic auth, maintenance mode, or a coming-soon page. - HTTPS with a valid SSL certificate – Verification fails on a self-signed or expired certificate.
- A reachable REST API – SureCookie verifies your site through a request to
/wp-json/surecookie/v1/on your domain. If a firewall blocks that path, connecting can’t complete.
Connect During Onboarding
The setup wizard opens automatically the first time you open SureCookie after activating the plugin. Connecting is one of its steps.
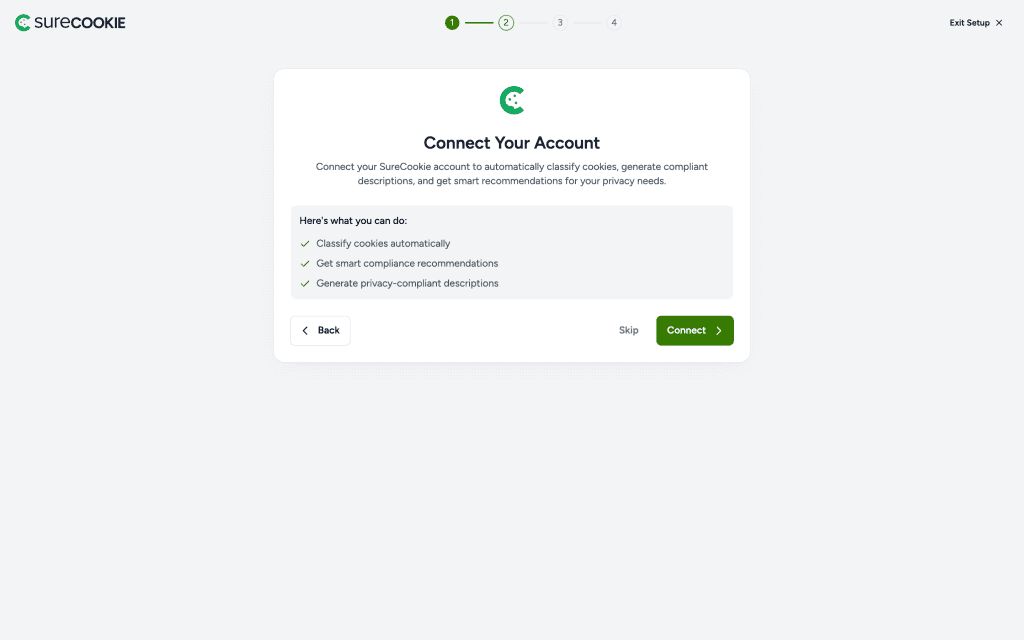
- On the welcome screen, start the setup.
- On Connect Your Account, click Connect.
- Wait for the Connected to SureCookie confirmation, then continue to the scan step.
Connect From the Cookie Manager
If you skipped the wizard, you can connect from the scanner instead.
- Go to SureCookie → Cookie Manager.
- On the Connect to scan your website screen, click Let’s Get Started.
- Wait for the Connected successfully! confirmation.
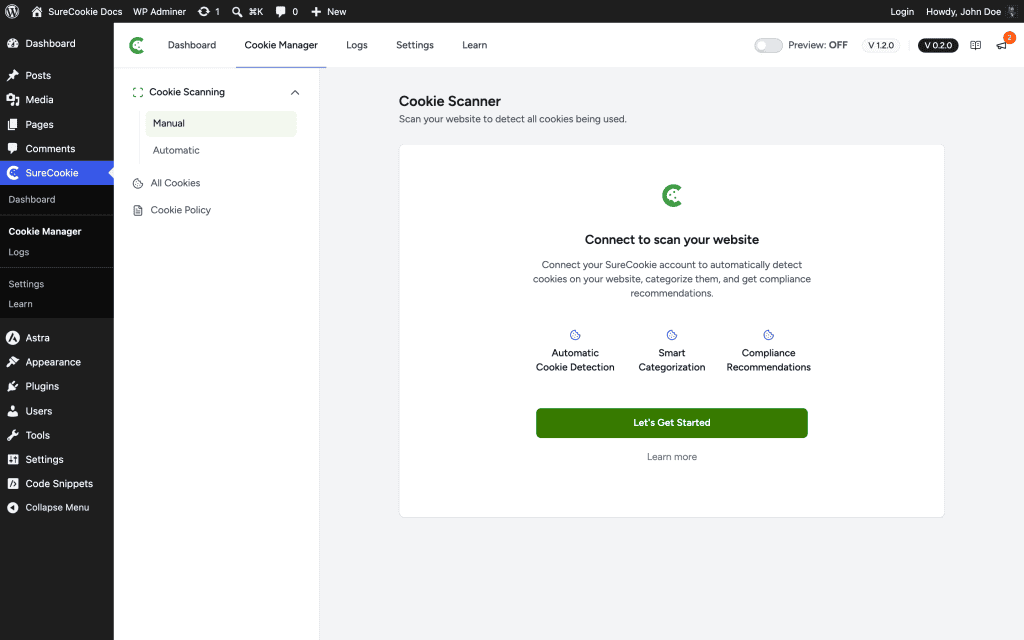
Note: Until your site is connected, scanning is unavailable and SureCookie shows an Account not connected prompt.
What SureCookie Sends When You Connect
Connecting is a lightweight handshake, not a data transfer. SureCookie sends only:
- Your site URL
- The WordPress administrator email
- The SureCookie plugin version
No page content and no visitor data are sent. As part of the check, SureCookie requests a one-time verification token from your site to confirm you control the domain. Once verified, a private credential is stored on your site and used to sign future scan requests.
Run Your First Scan
With your site connected, you’re ready to scan.
- Go to SureCookie → Cookie Manager → Manual.
- Under Select Pages, choose the pages to scan.
- Click Start Scan.
The detected cookies appear on the All Cookies tab, sorted into the Essential, Functional, Analytics, and Marketing categories.
Troubleshooting
- The Connect button fails or you see “Account not connected” – SureCookie couldn’t reach your site to verify it. Confirm your site is public, served over HTTPS, and not in maintenance mode, then try again.
- You see an HTTP 422 or registration error – Verification was blocked, often by a security plugin or firewall. See Fix a Stuck or Failed Cookie Scan.
- You moved your site to a new domain – Connecting is tied to your domain. After a move, reconnect so SureCookie can re-verify and issue fresh credentials.
Next Steps
Once connected and scanned, review your cookie categories so your banner groups everything correctly. If a cookie you expected isn’t listed, see Why Some Cookies Aren’t Detected. If a scan won’t start or stalls, see Fix a Stuck or Failed Cookie Scan.
We don't respond to the article feedback, we use it to improve our support content.